One of the projects that got put off for quite a while was a pot rack above the sink. We're spatially challenged when it comes to storage in the kitchen, and with a recent purchase of some proper wine glasses, something had to give.
That something was that the pot rack had to be built. Fortunately, this was a simple and easy project because my materials were already chosen and I've got lots of experience with them.
Here's the niche that will house the pots:
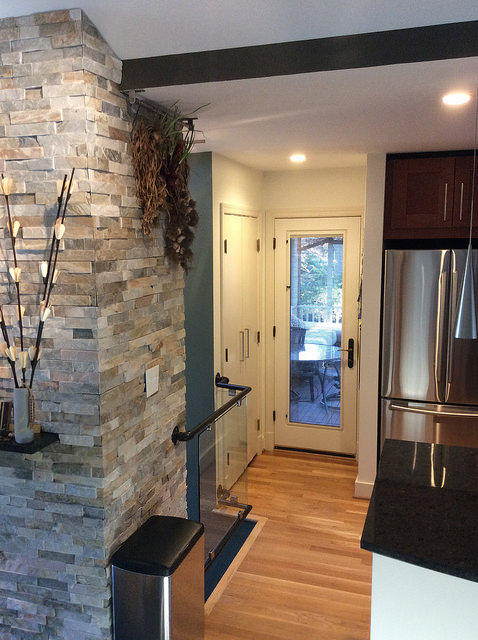
The design is a simple 1" black pipe between two floor flanges across the space. This follows the design of the other railings in the kitchen and stairwell areas, and it really ties the room together, Dude.
I already had a length of black pipe, threaded on one end. I took it in to Home Depot, where I had the other end cut to length and threaded. They didn't charge me for that, but the flanges for the ends were surprisingly expensive - almost $7 apiece. I don't remember them costing nearly that much last time. I also bought a packet of 8 #12x1" wood screws to fasten them to the cabinets for about $1.50.
I also happened to have some primer and a rattle can of "Hammered" finish black paint left over from the renovation. So all I had to do was clean the pipe with a wire wheel on the right-angle grinder, wipe it down with acetone, prime it, and paint it.
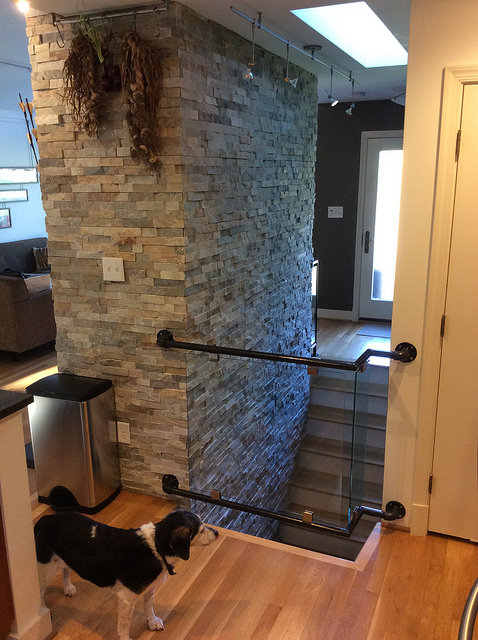
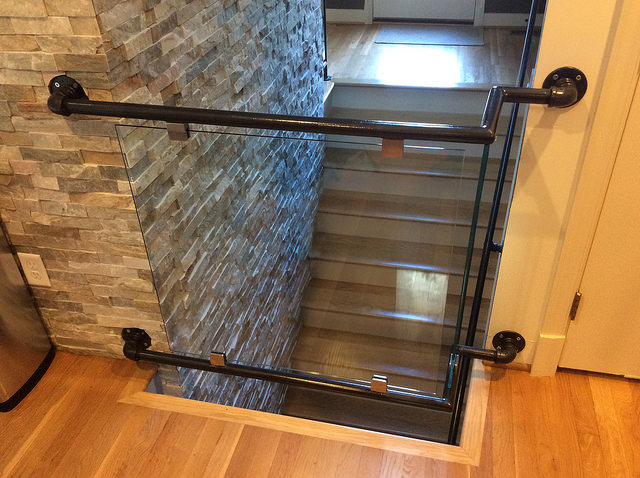
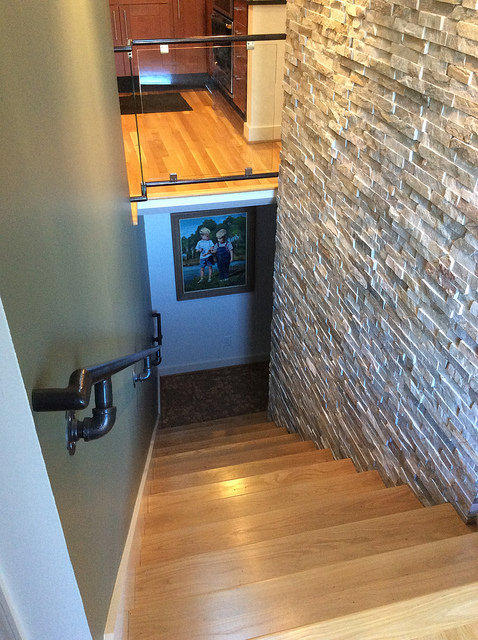
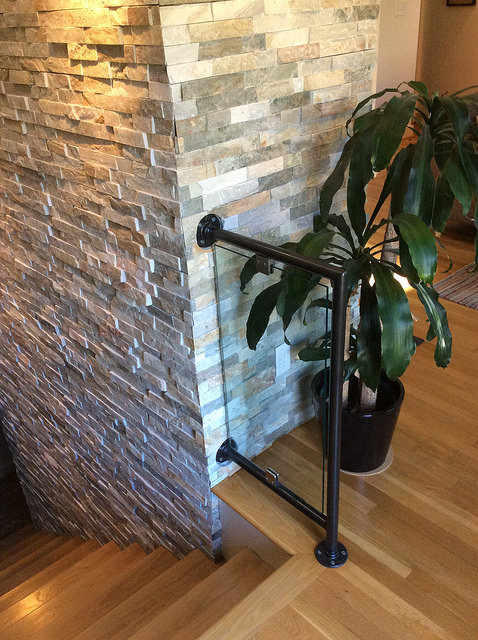
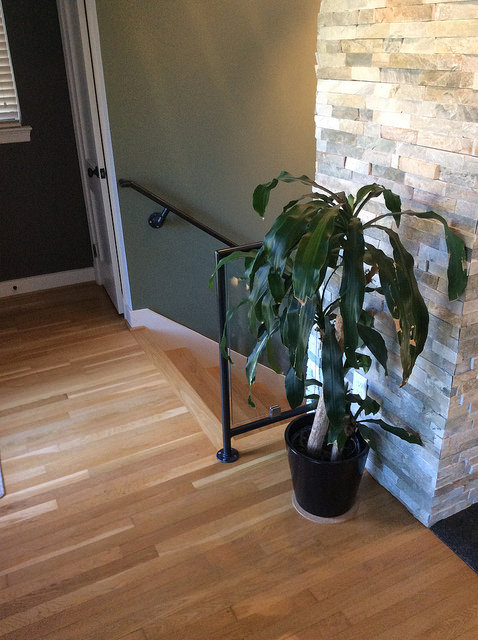
While I'm on the subject, I should share why this really ties the room together, Dude. Earlier this week, I realized that I never took any pictures of the railings in the house after they were installed. So I took some pictures of the banister, the newel post, and the railing to show and tell.
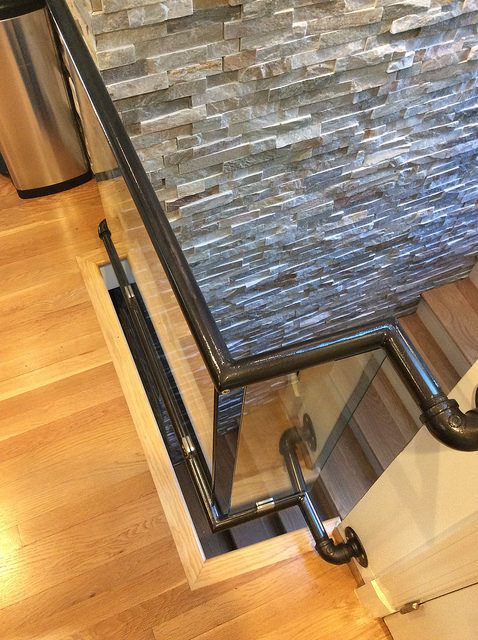
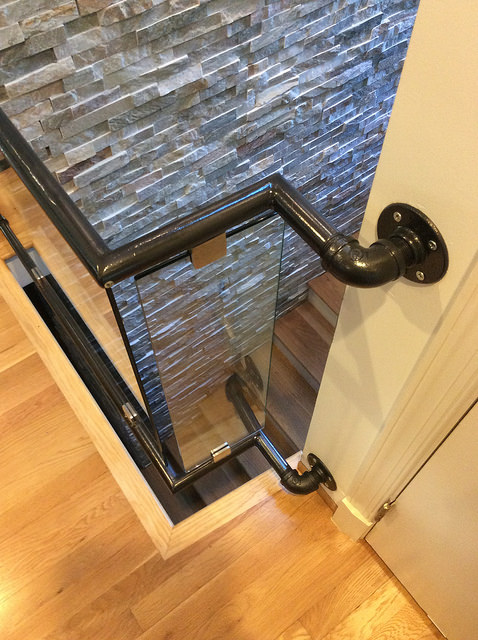
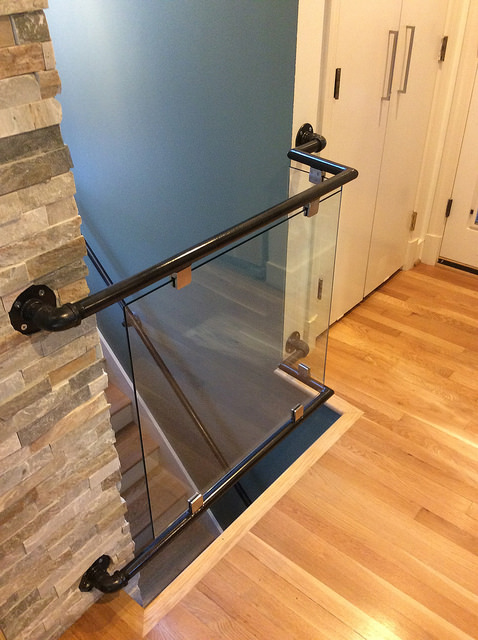
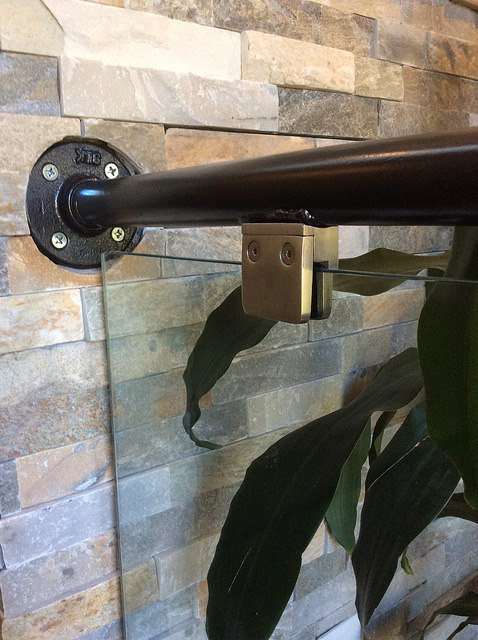
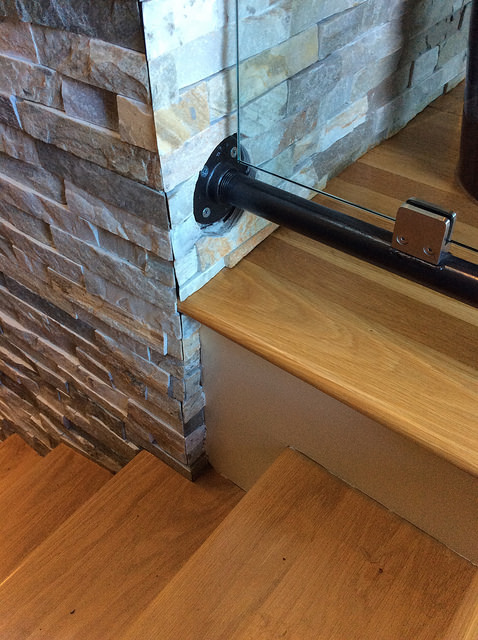
The railings are mostly threaded together with pipe-fittings at the wall to give it an industrial look, but to maintain a cleaner look, I welded the joints on the railing, the top corner of the newell, and the overlook bends. The overlook bends were tricky because they aren't 90 degree bends.
The railing is pushed out into the opening a bit for maximum space on the upper level since the entrance from the porch is rather narrow. The gaps between the bottom railings and the floor opening are less than 4", which passes the letter of the code, but the inspector didn't like it. Fortunately he let it go.
The glass was purchased from Consolidated Glass Corporation along with the other glass in the renovation. I bought the stainless steel glass clamp fittings directly from C.R. Laurence which is a fantastic resource for all kinds of hardware. I put some weld beads down where the glass clamps were mounted to build up the sides a bit. This is because the radius of the CRL hardware was larger than the radius of the pipe (the CRL hardware was designed for that big 3" radius stuff you see in hotels, I guess).
You can see it best in the picture of the top rail of the newel post.
I'd like to highlight some of the incredibly detailed planning and forethought that went into the railings and their placement.
I had the designs in mind very early in the process, and before the walls were covered up in stone or drywall, my excellent foreman Bill Machande was careful to ensure there was adequate blocking and support wherever the railings would likely attach.
For example, from a few pieces of scrap spacer plates that came with the steel support columns, I fabricated these standoffs for the newel post. They are anchored securely into the brick and then drilled and tapped with threads to hold the flanges. They aren't going anywhere, ever.
Both sides of the opening at the kitchen feature studs that face the drywall to give plenty of support to the overlook railings. Bill also made sure additional blocking was placed at predetermined points all the way down the staircase to support the stairway railing there. The railings should handle anything a parkour enthusiast might dish out.


